How to Make Steam Buns Dough from scratch. Let me show You!
Making a Siopao Buns is not as difficult as it sound. With this recipe, You can make it anytime you feel like having a Siopao. It’s homemade from scratch and it is simple. Watch the video to see how I made it.
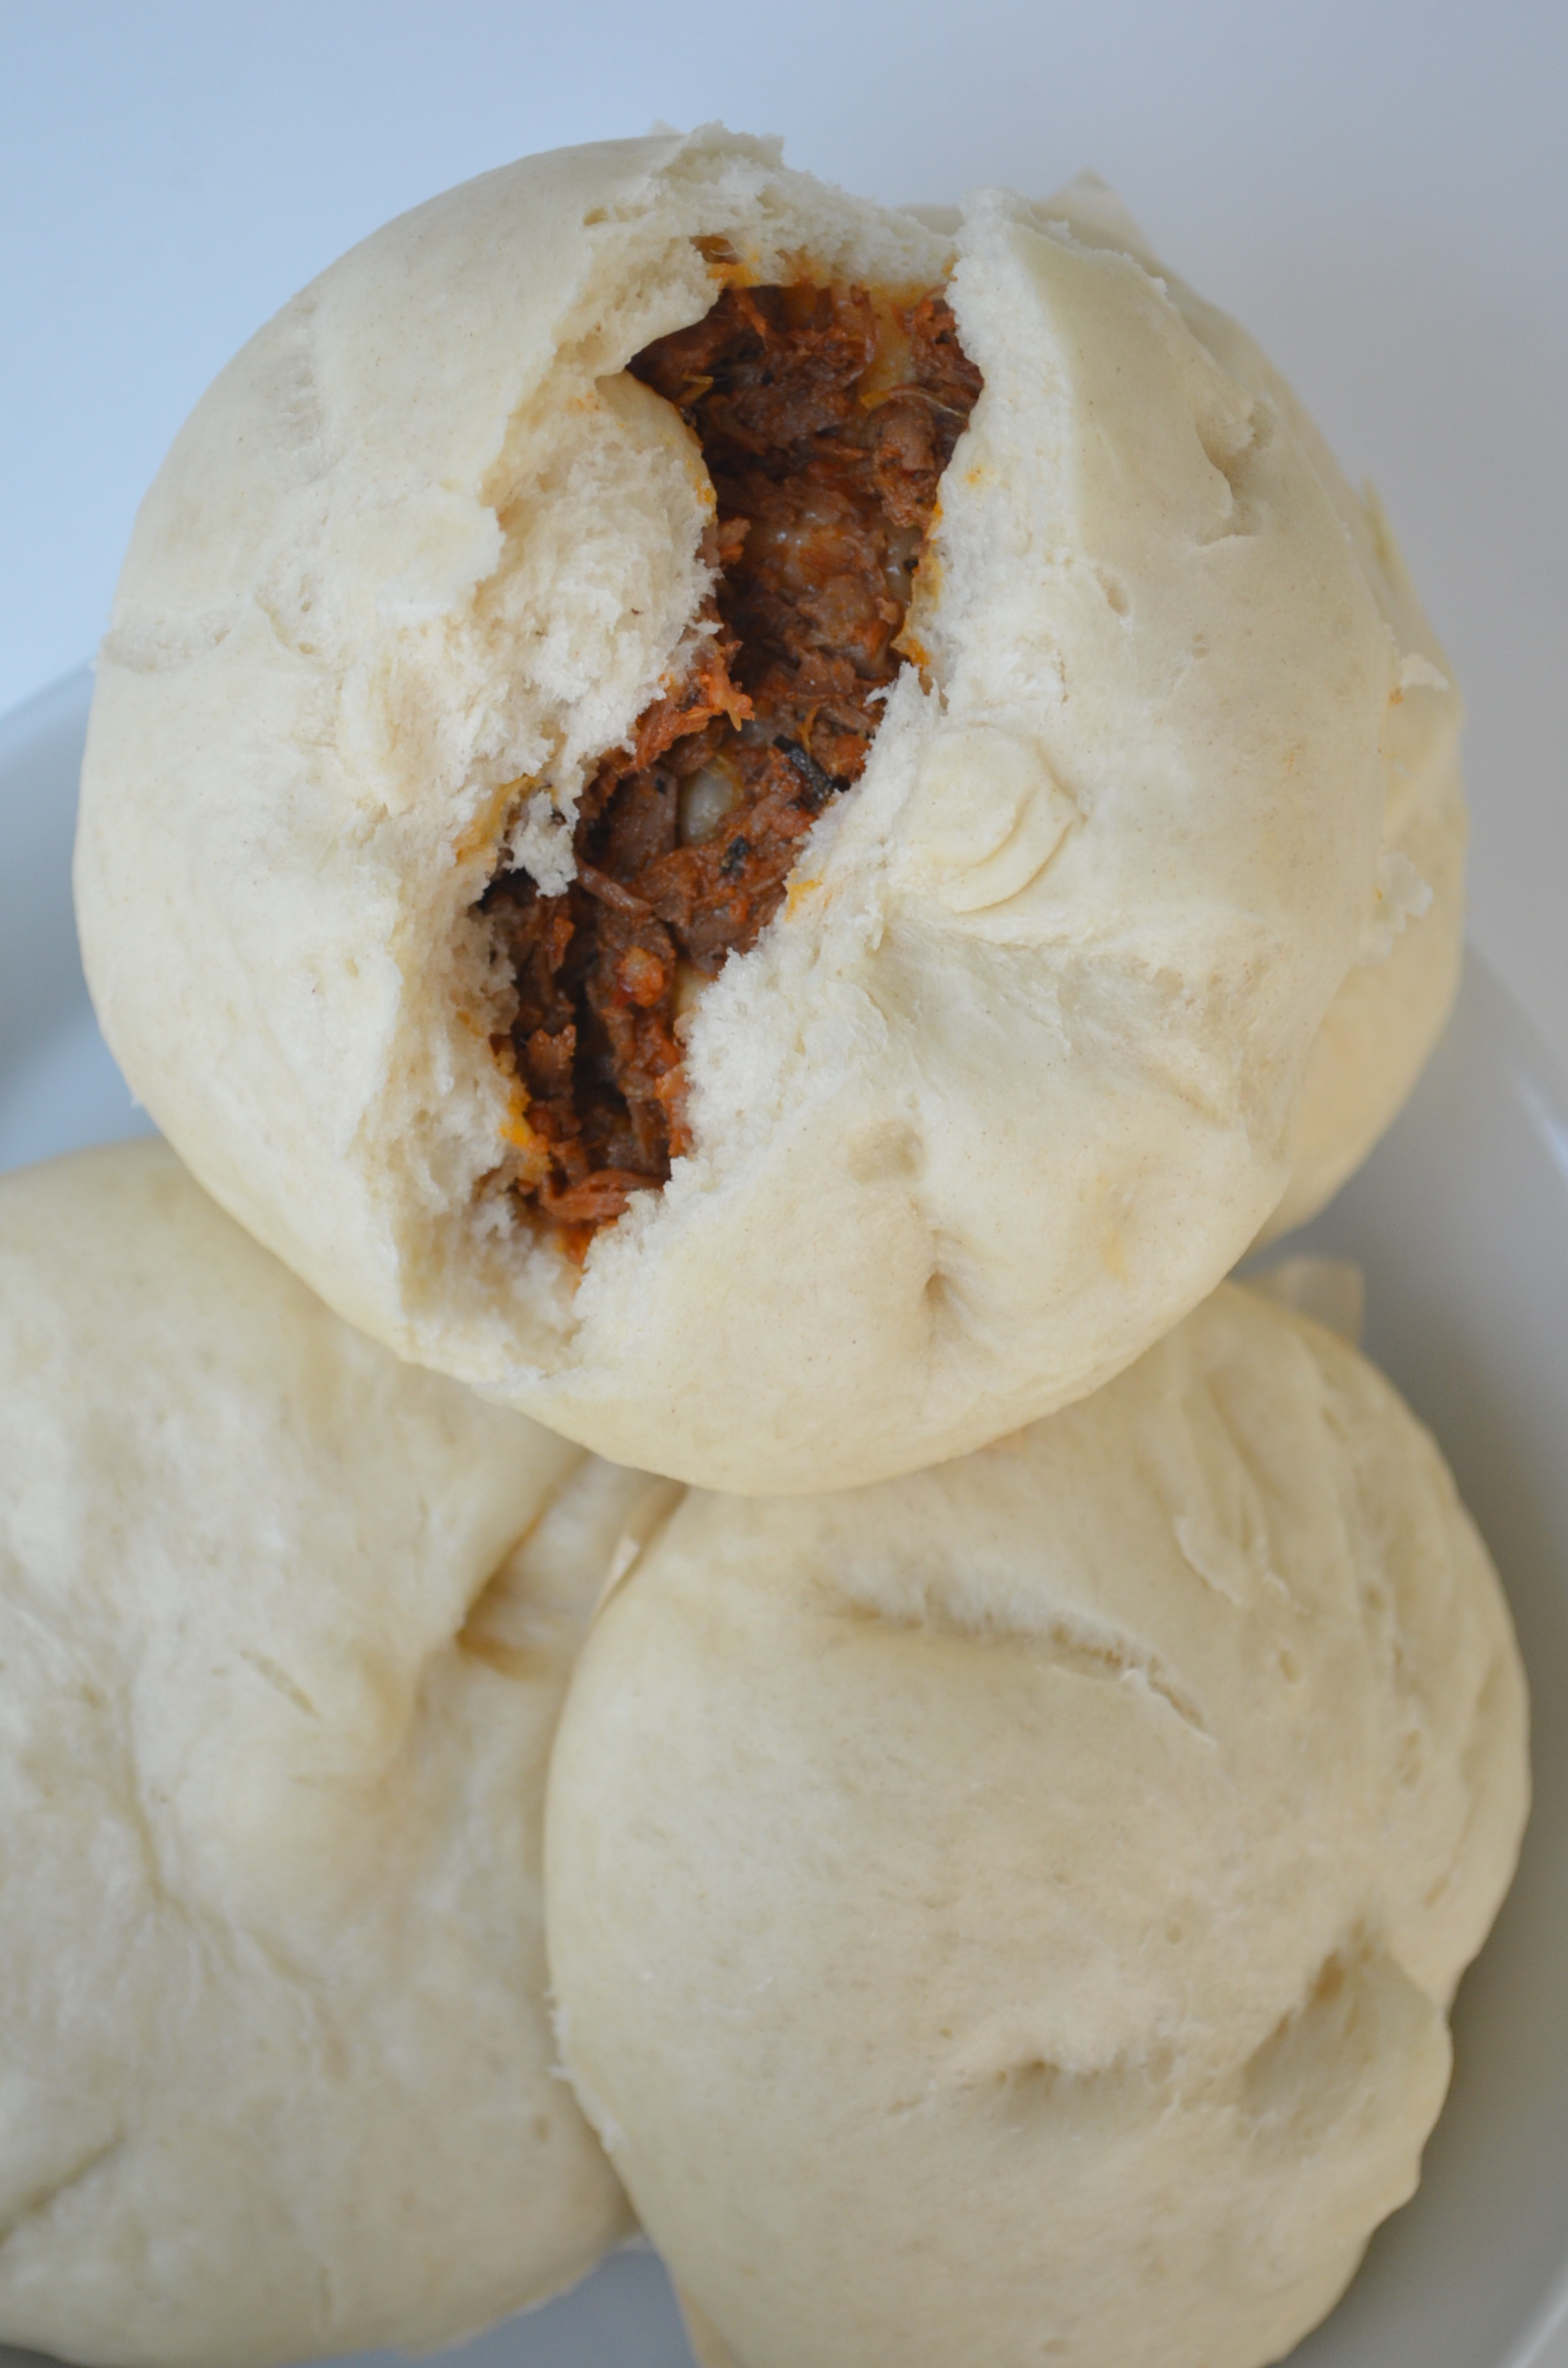
Siopao anyone? I just made my very own small batch homemade Siopao, and they were so good! I don’t know why it took me so long to make this.
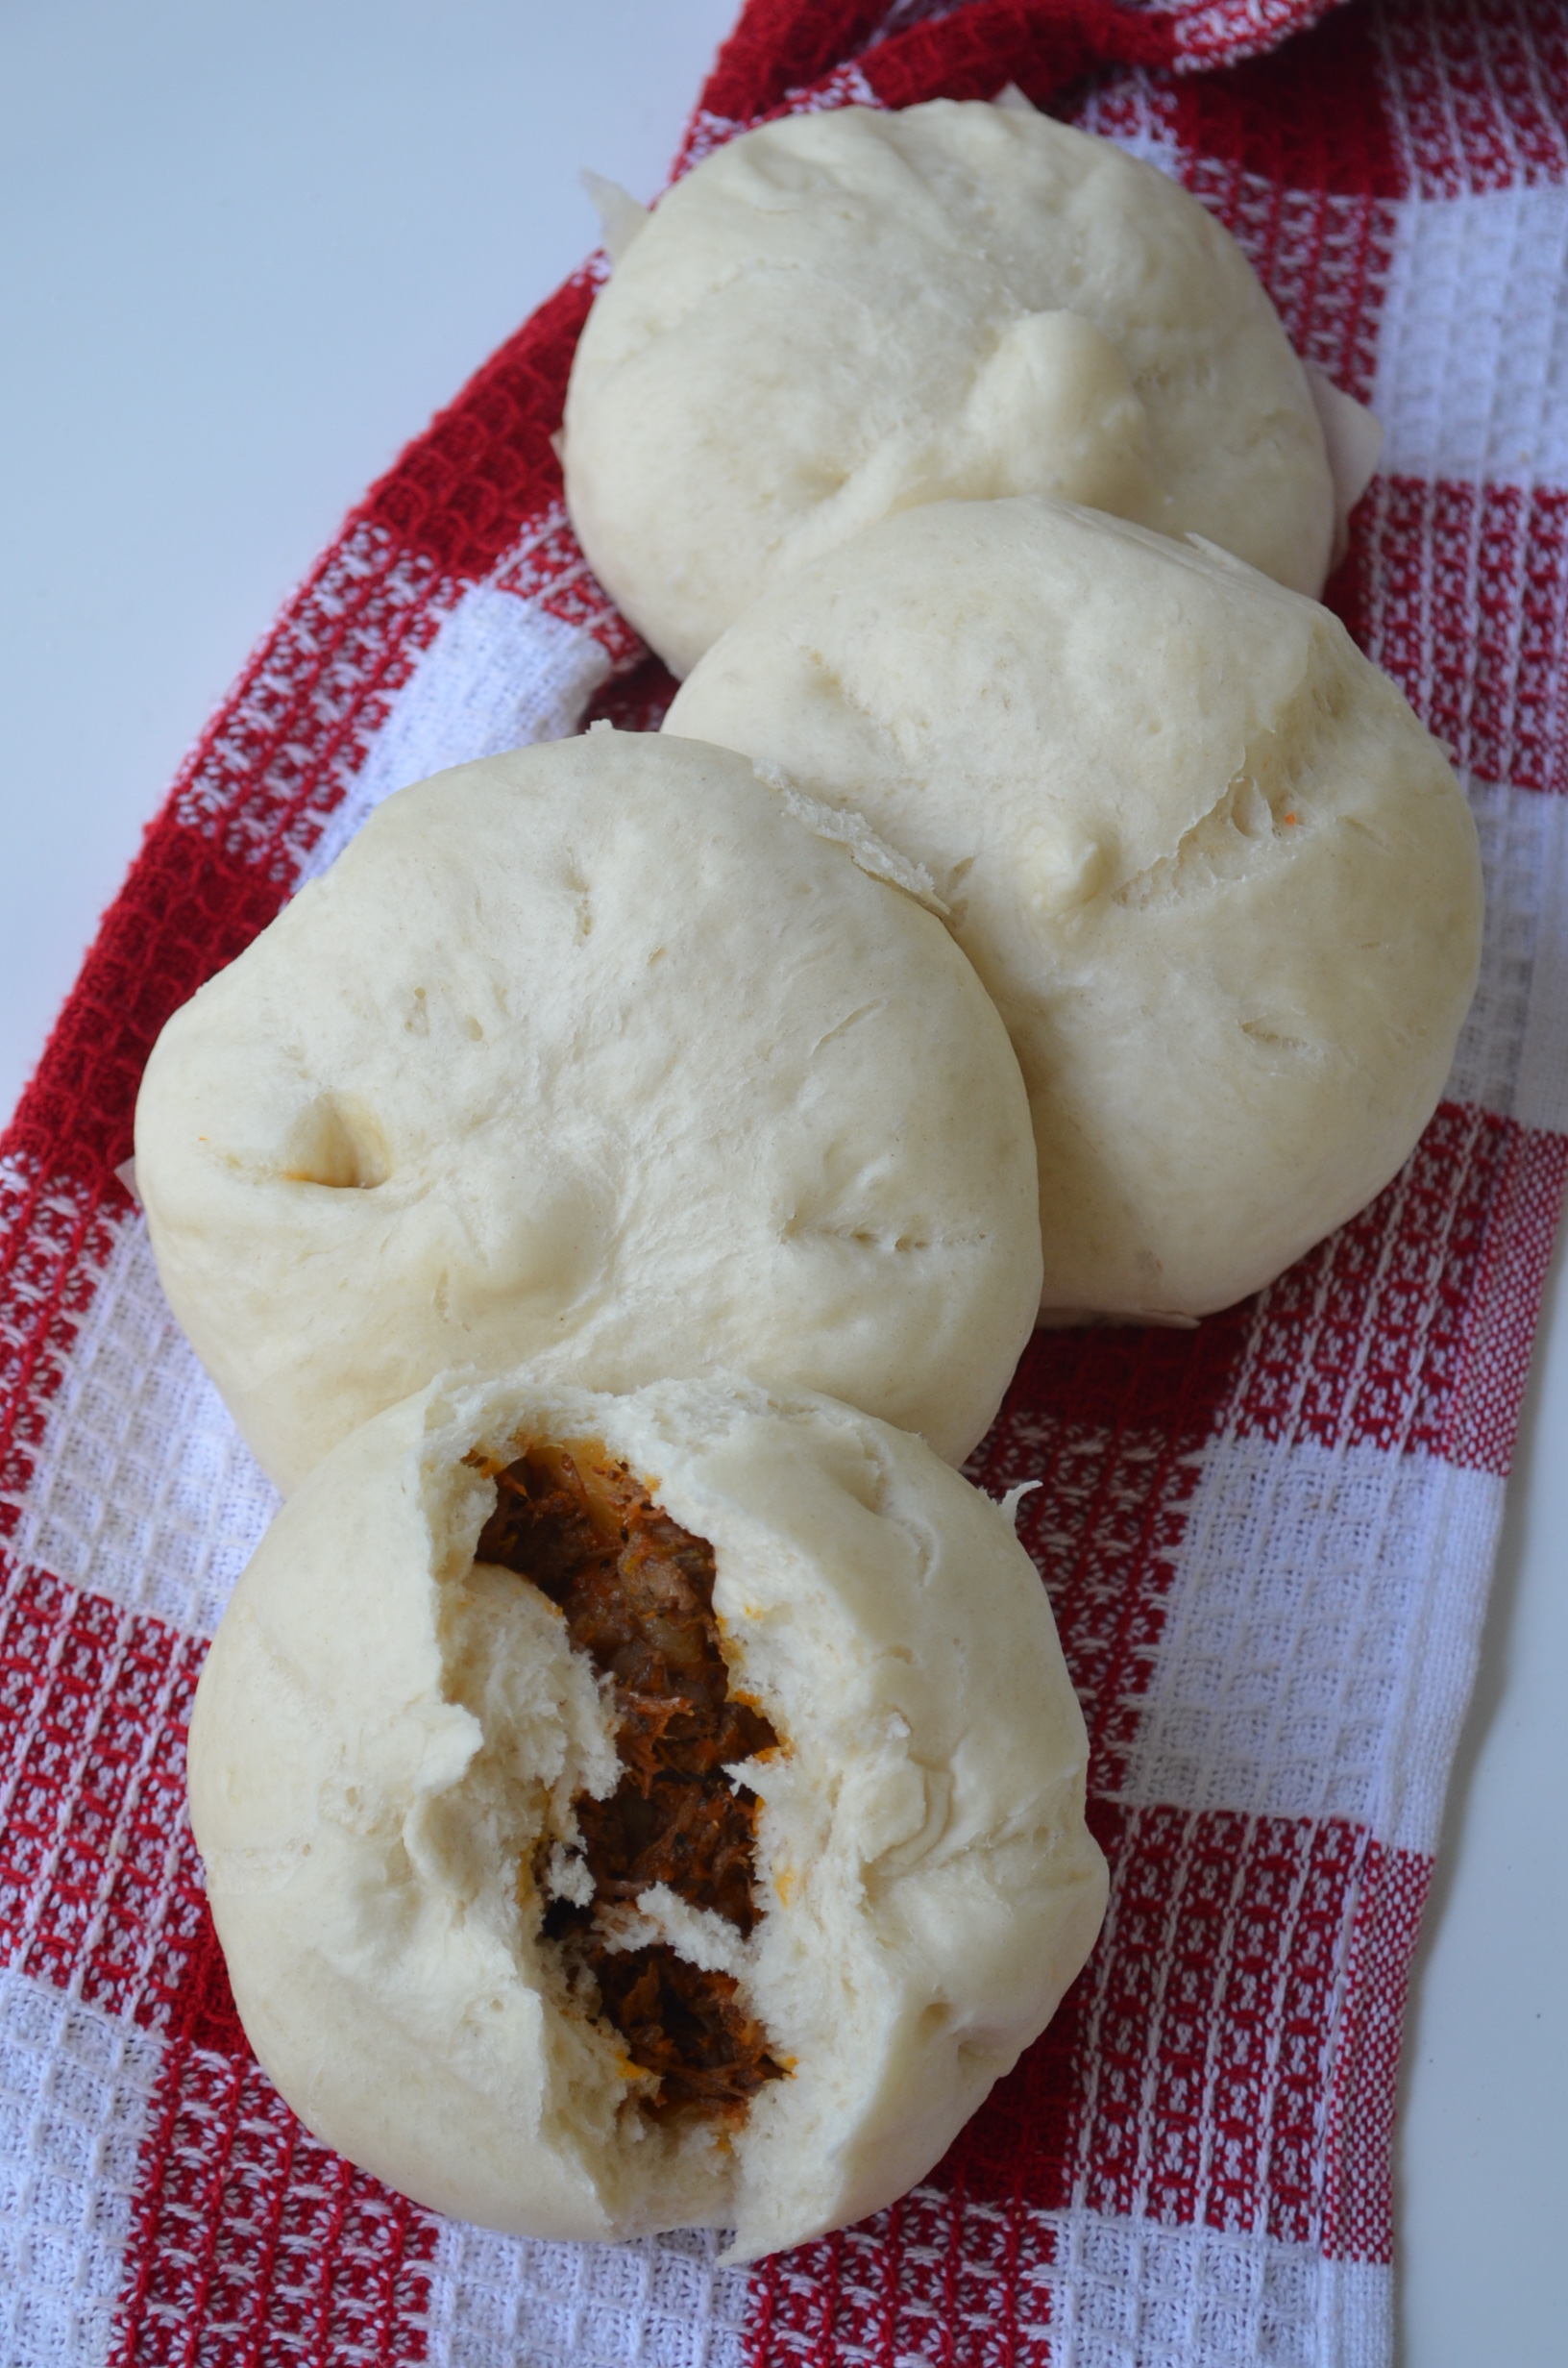
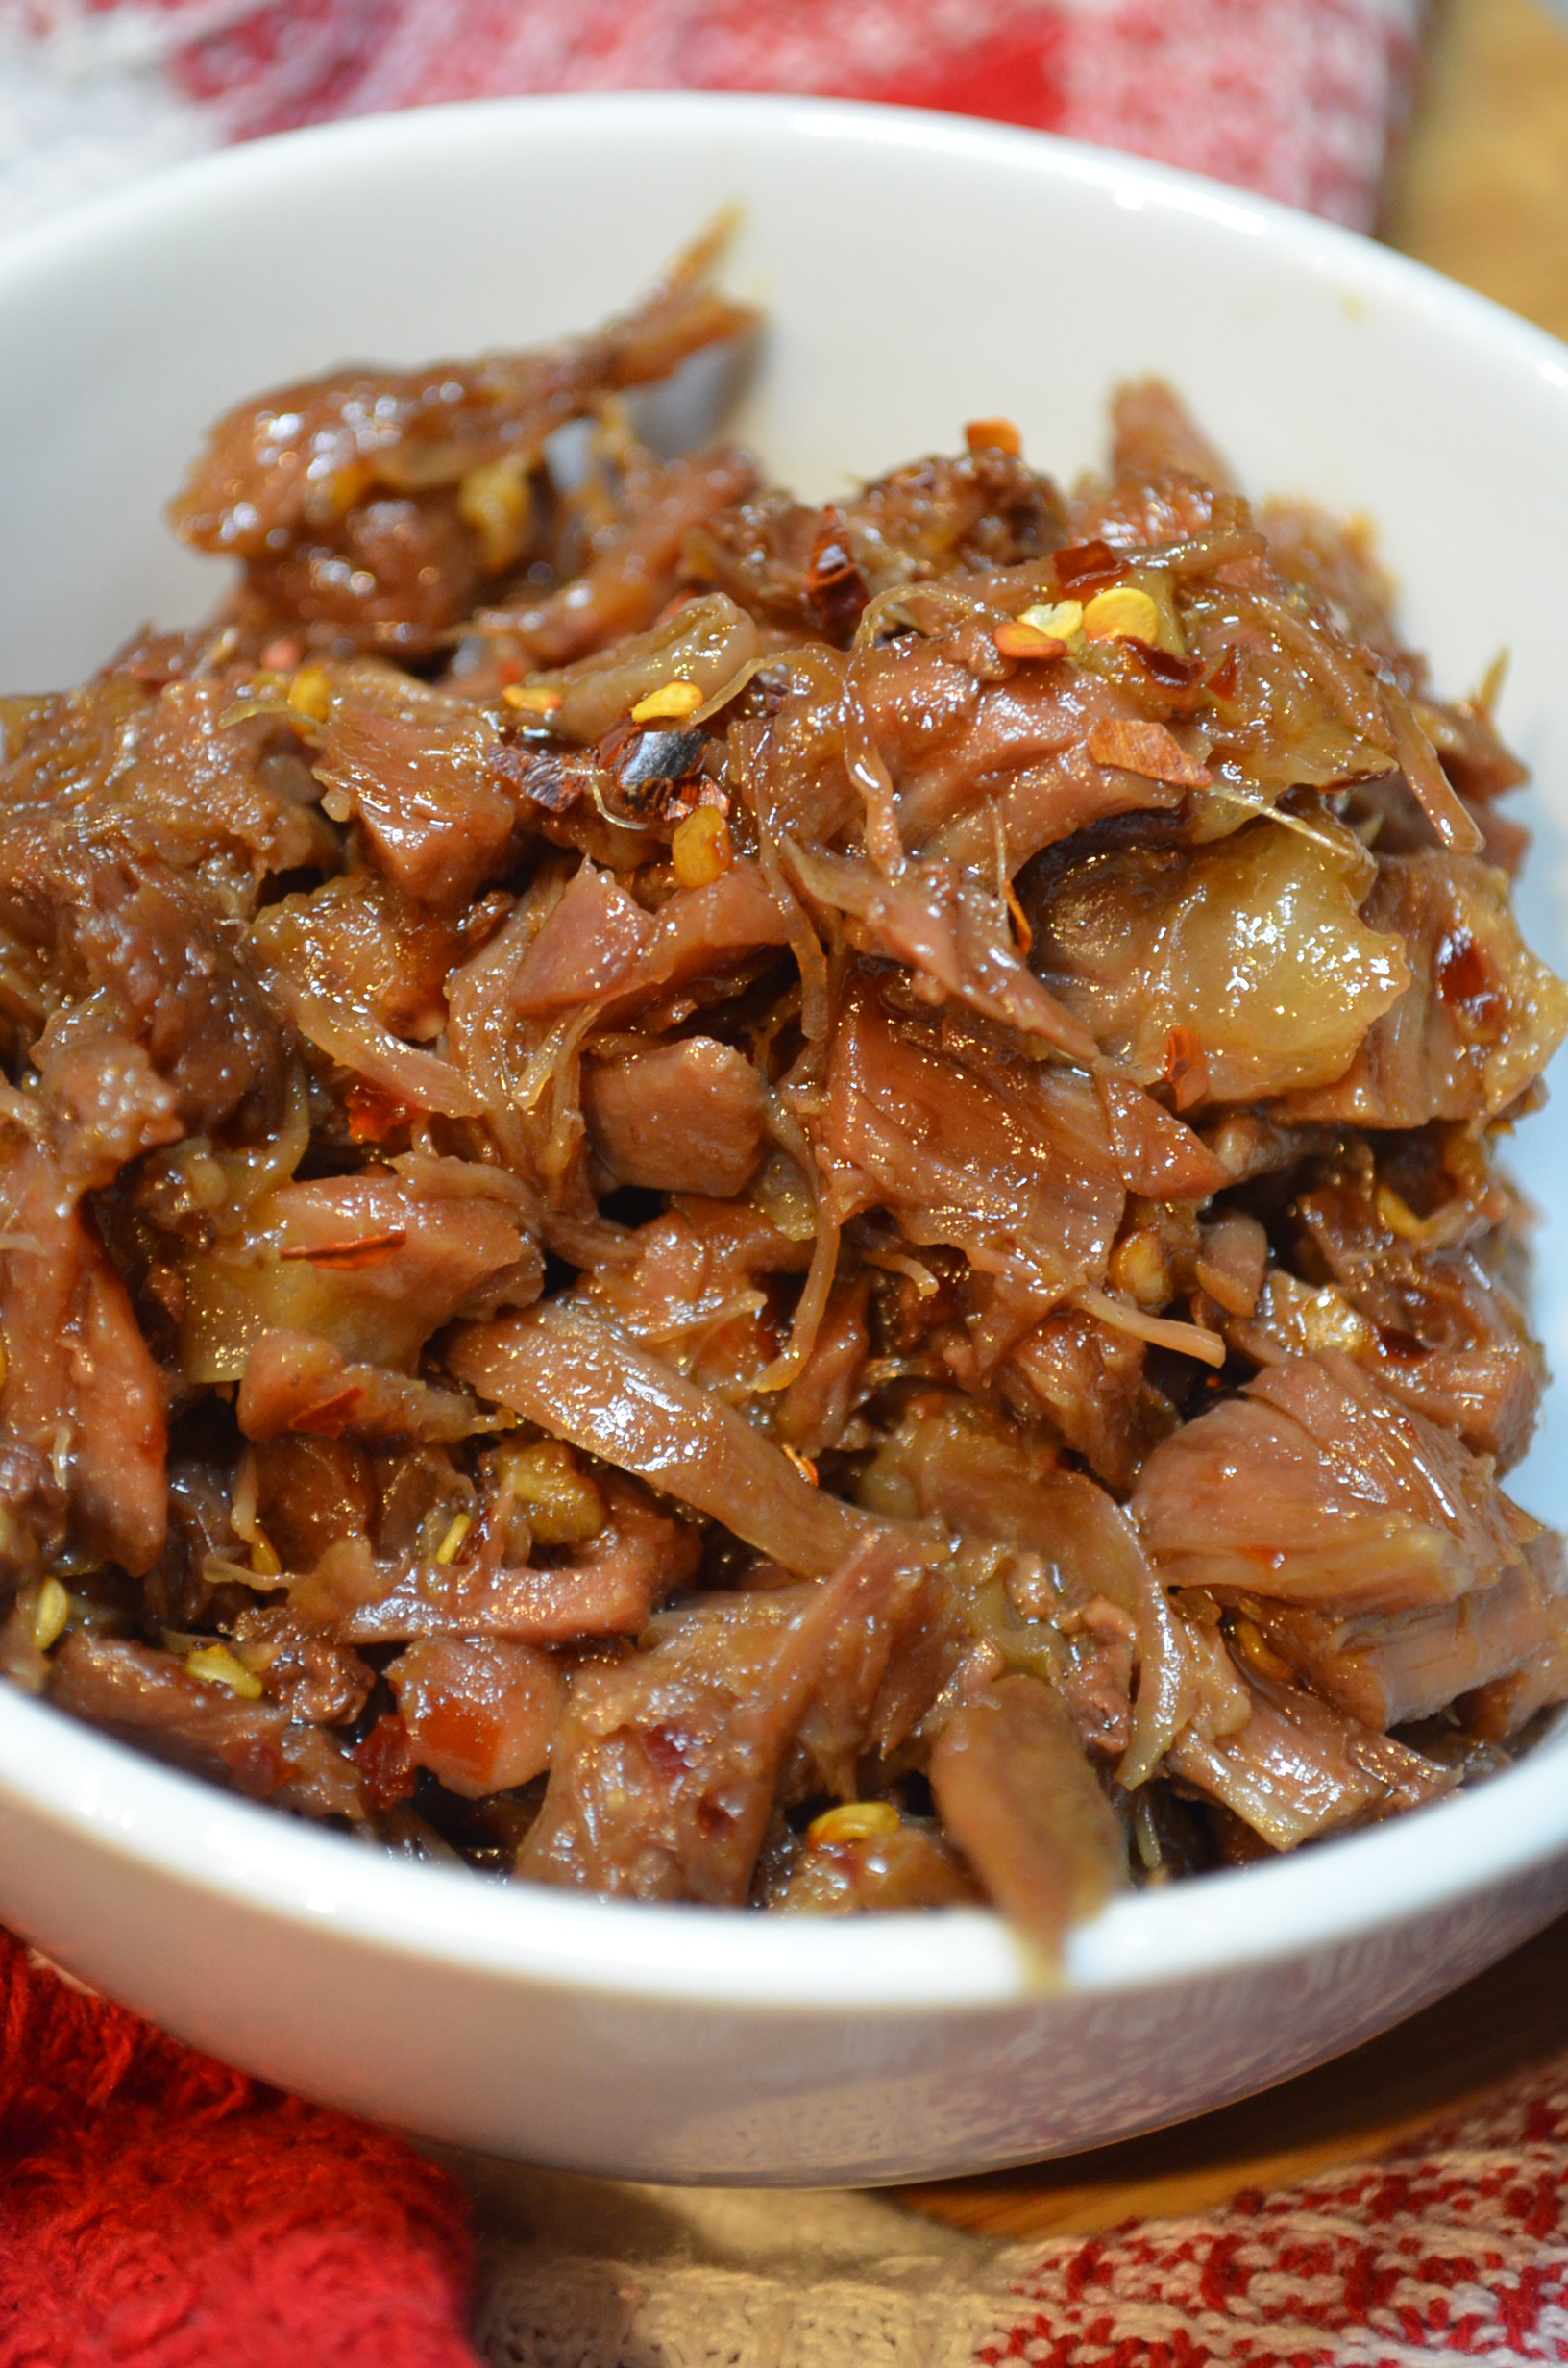
For those of you who do not know what Siopao is, it’s a steamed buns with filling. This is most common in Asian countries, like Philippines where I am originally from. They are normally filled with meat balls or savory shredded meat and to make it extra special, a sliced of hard-boiled egg is also stuffed inside the buns. The most common variation we have in the Philippines, and even here in Asian stores in Canada are “Asado” (Shredded Pork) and “Bola-Bola” (Meatballs). They are sold mostly in Asian stores, either ready to eat or frozen.

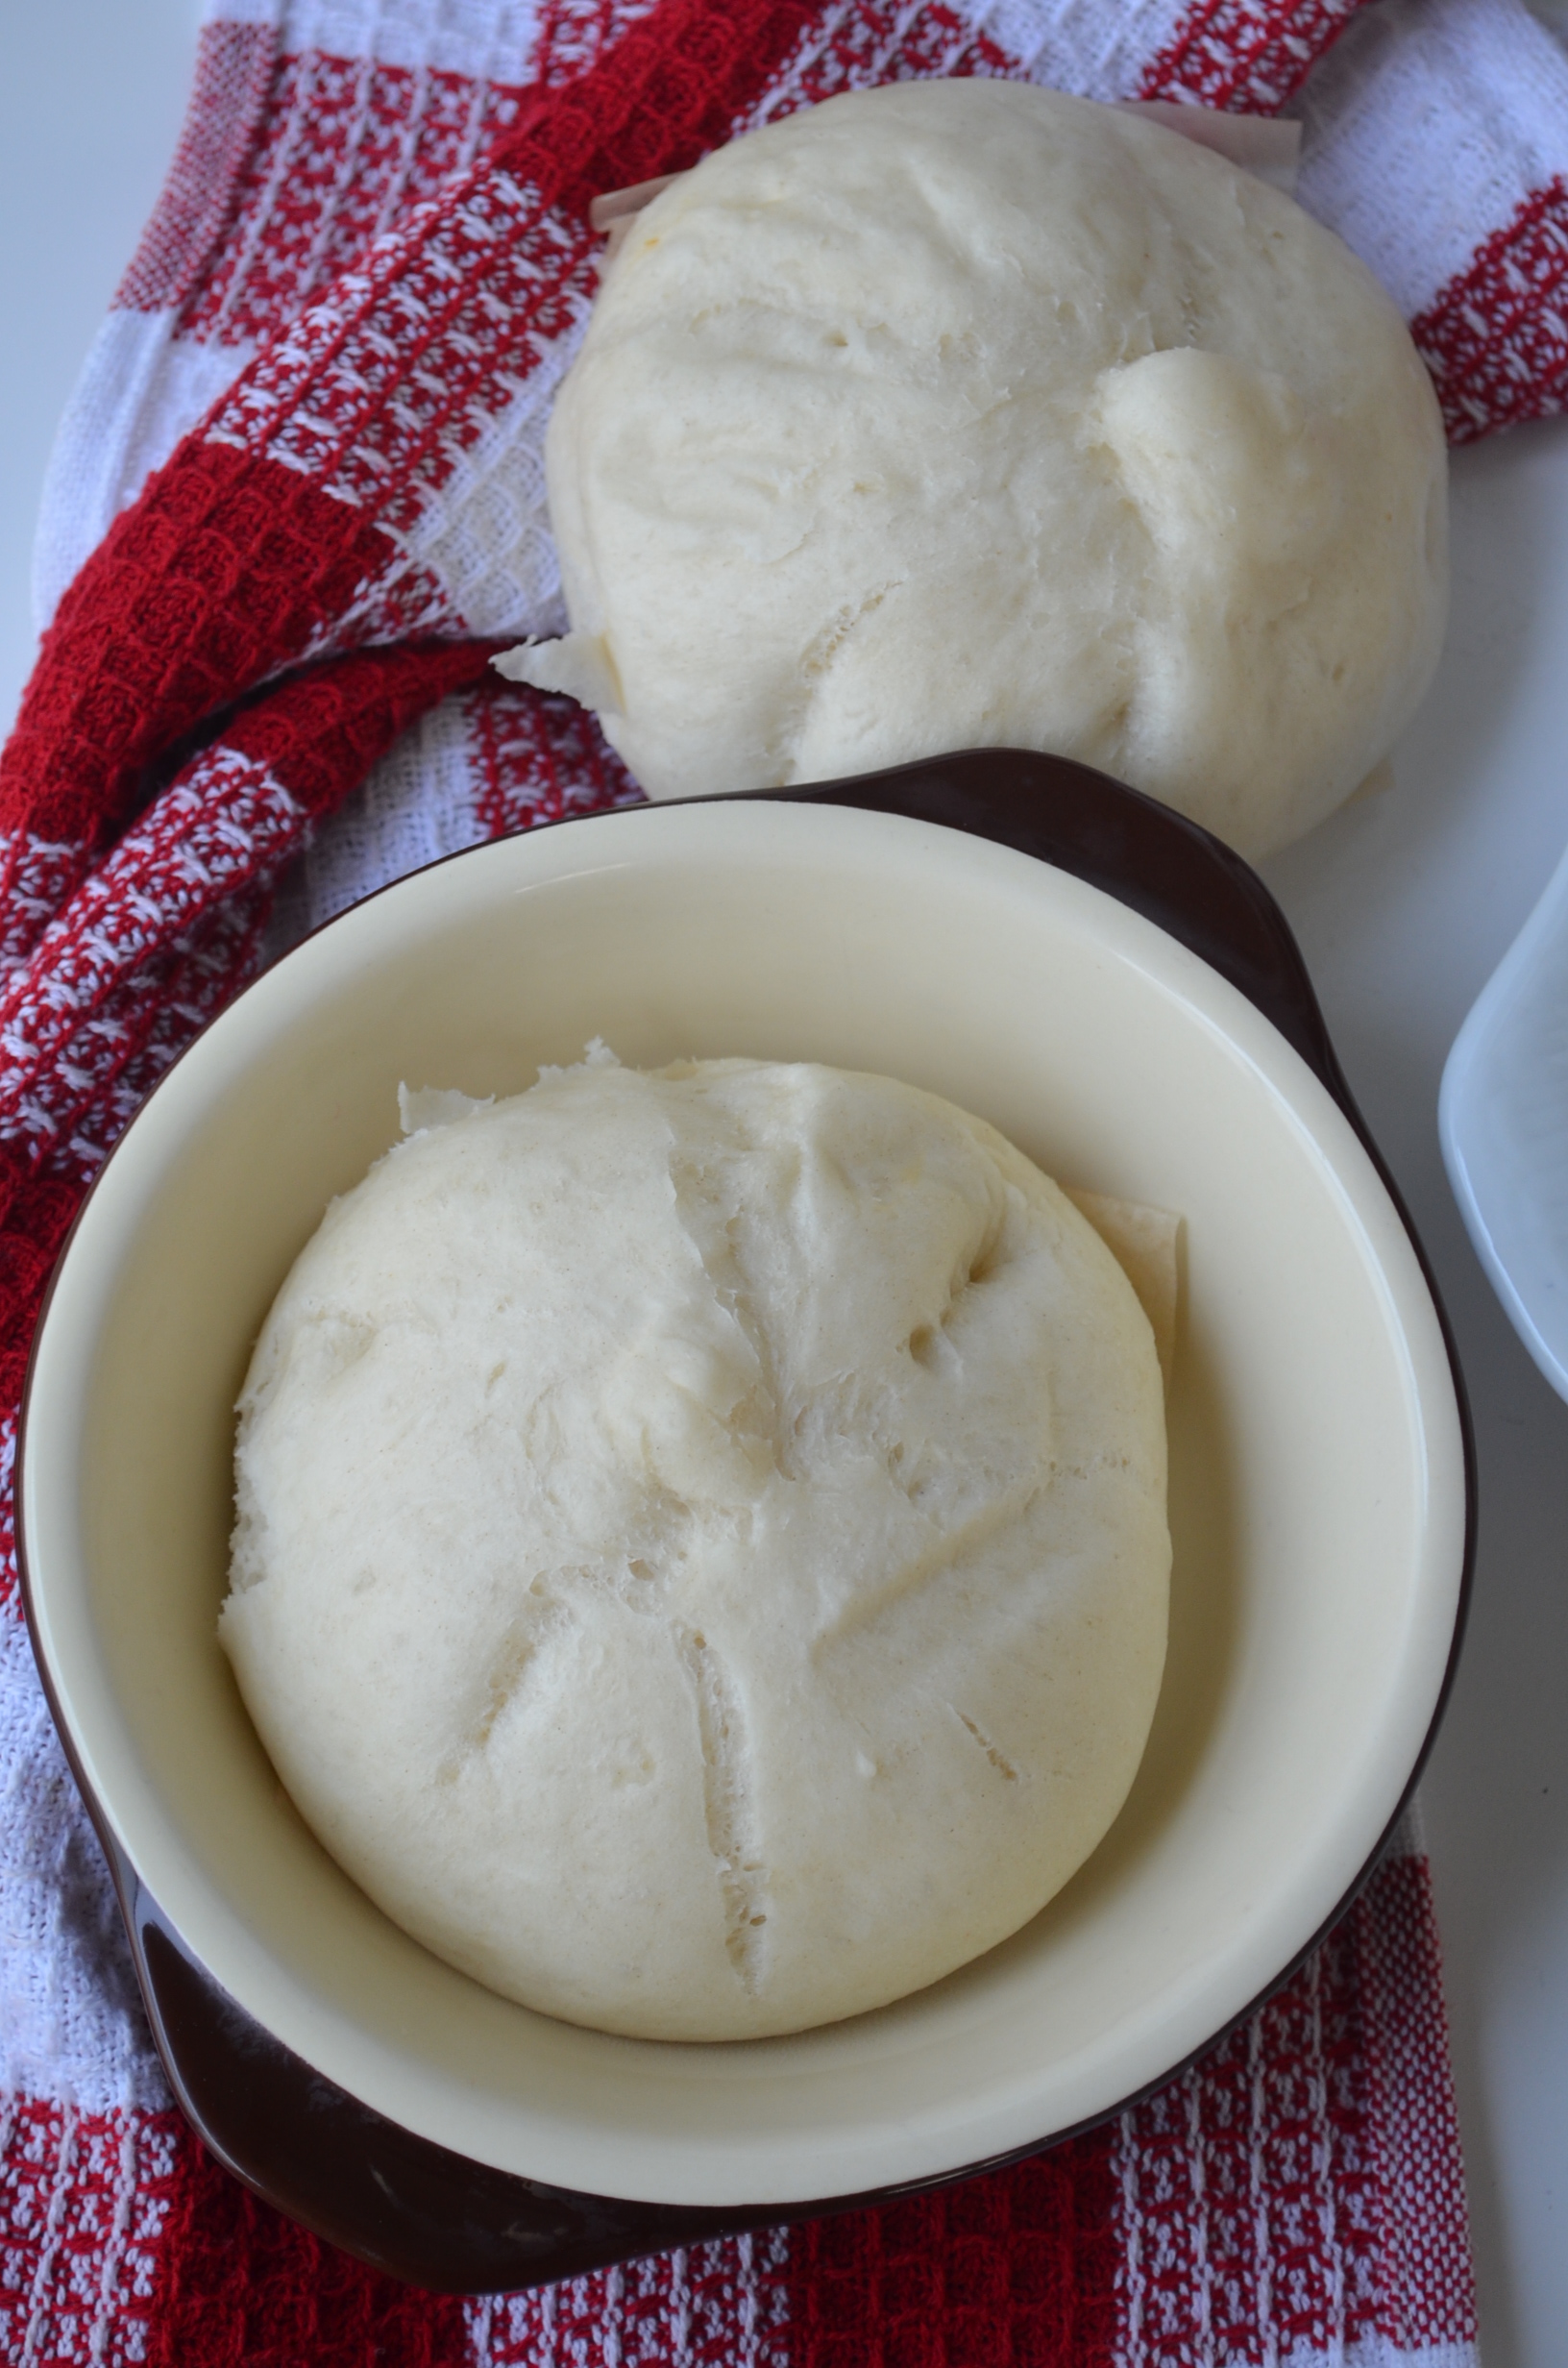
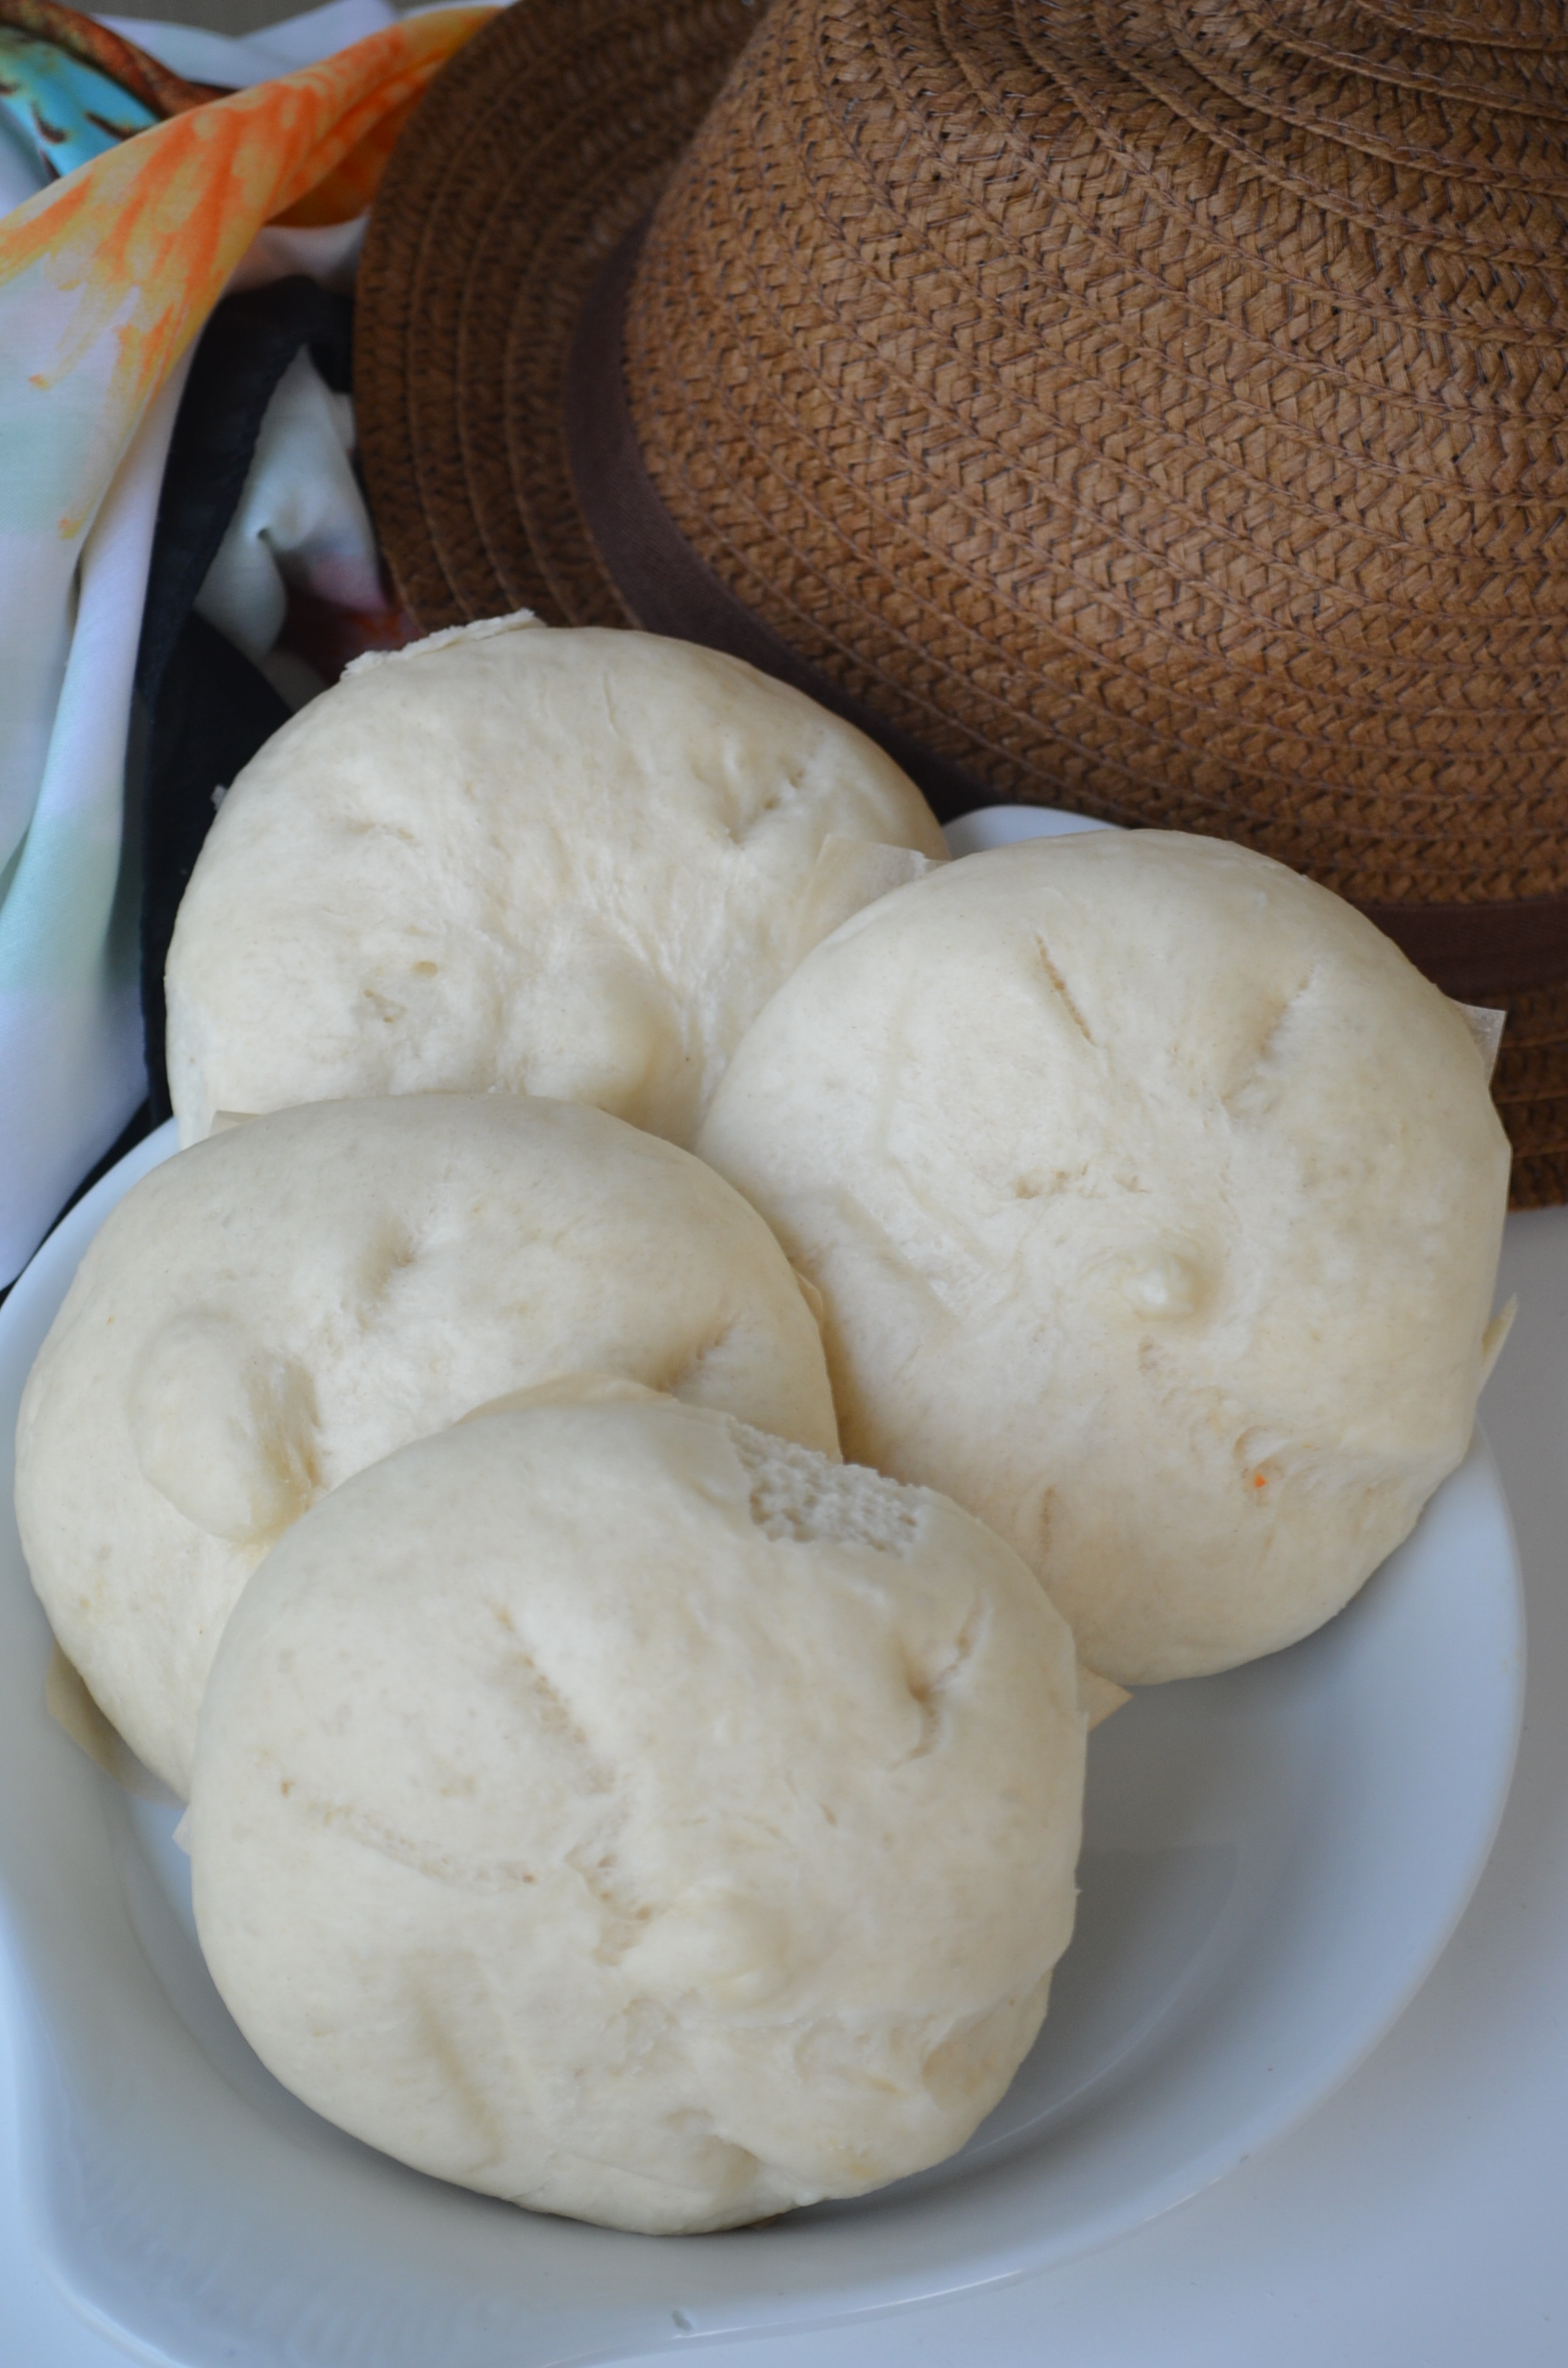
The dough of the bread is different from traditional bread, and this is because the bun is steamed, not baked. They have a very soft texture and white in color. I love eating it on its own often time for snack, and it also goes well with hot noodles specially on a cold rainy day. They are a perfect combination that brings back memories of my home.
The good news is, it is not difficult to make, which means I can make them just as I make my regular bread. This recipe is small batch and the steamed buns can be kept in the freezer, although I doubt that you will have any leftover after you ate it. After all, its is a small batch. That’s the beauty of this recipe, perfect portion and you get to enjoy it freshly made. I wouldn’t judge you though if you double the recipe to make more. It’s totally worth it. Let’s get started!
Ingredients:
- 1/2 cup + 2 tablespoon lukewarm Water (110F. If you do not have thermometer, microwave tap water for 20 seconds. If you have hot water from the faucet, you can use that straight without microwaving).
- 1 1/4 teaspoon Active Dry Yeast
- 2 tablespoon + 1 teaspoon Sugar (divided: 2 tbsp for flour mixture, 1 tsp for yeast mixture)
- 1 tablespoon Canola Oil or any Flavorless Oil plus extra 1/2 teaspoon for greasing a large bowl
- 1 1/2 cups All-Purpose Flour
- 2 teaspoon Baking Powder
- 1/8 tsp Salt
- Braised Meat (Asado) Filling or BBQ Pulled Chicken Filling
Note: If using instant yeast (the granules will be finer), you can skip the “blooming” process of the yeast (step 1). Just mix the instant yeast to the dry ingredients just don’t put the yeast close to the salt.
Instructions:
- Activate the Yeast: Mix water, active dry yeast and 1 teaspoon sugar in a bowl of the stand mixer. Set aside for 10 minutes until it becomes foamy and it starts to bubble. Add 1 tbsp oil and stir.
- If you did not reach the stage of the yeast being activated (no foam formed) do NOT continue. Try to do it again, either the yeast is expired or the water too hot or cold to activate the yeast. This is a crucial step that could make or break the dough rising.
- Dry Ingredients: In a separate bowl, mix flour, 2 tbsp sugar and baking powder.
- Stand Mixer: Use regular mixer attachment for the initial mixing. Add 1 1/4 cup of flour, set aside 1/4 cup for later. In medium speed, slowly mix the dough. Change to the dough attachment and add the remaining flour. Continue mixing until the dough comes together. If the dough is too sticky, add 1 tbsp flour just. Your aim is a soft, smooth and elastic dough that is still slightly wet but not too wet that it sticks too much in your palm. If the dough is quite dry, add 1 teaspoon of warm water at a time until you get a smooth, elastic and soft dough. A little sticky is ok.
- Manual Kneading: Transfer the flour in your working counter or in a large bowl and make a well in the center. Pour activated yeast and knead until it forms into a soft dough. If the dough is still dry and loose, add 1 teaspoon of water and continue kneading about 5 – 10 minutes or until it forms into a ball. If the dough is too sticky, add 1 tablespoon of flour until you get a smooth, elastic and soft dough. Be careful in adding too much flour as it could make the dough dense.
- Recipe Note: Some flour are drier than the others and thus will require more liquid. Also, the age of the flour could also affect the amount of liquid that you need. An older flour is drier and will require more liquid.
- Rest Period 1: Spray or grease the inside of a large bowl with oil. Make sure to use a large bowl to allow room for the dough to rise. Cover with warm towel and leave in warm place for 1 hour or until the dough doubles in size.
- To help the dough rise better,pr-heat the oven to 110F then turn if OFF, then put the covered dough inside and let rest for 1 hr. Some oven has a proofing setting, mine doesn’t, so this is my trick.
- Remove dough from the bowl and punch or press it to remove the air. Gently push the dough using the palm of your hand. Do NOT knead too much to avoid deflating the air that build up during the rest period. At this point, you now have a Siopao dough ready for use. I recommend dividing it into 5 portions, or 6 for smaller size and 4 for extra large size.
Makes 5 pieces

How to Use the Siopao Dough
- Parchment Paper: Cut 5 pieces of 5×5 parchment paper to line bottom of the Siopao.
- Divide into dough into 5 equal portions. I use my kitchen scale to do this, If you do not have one, just estimate the size manually.
- Shape: Roll the dough into your palm. Using a rolling pin, roll and flatten it to form a disc about 4-5 inch (it doesn’t have to be exact).
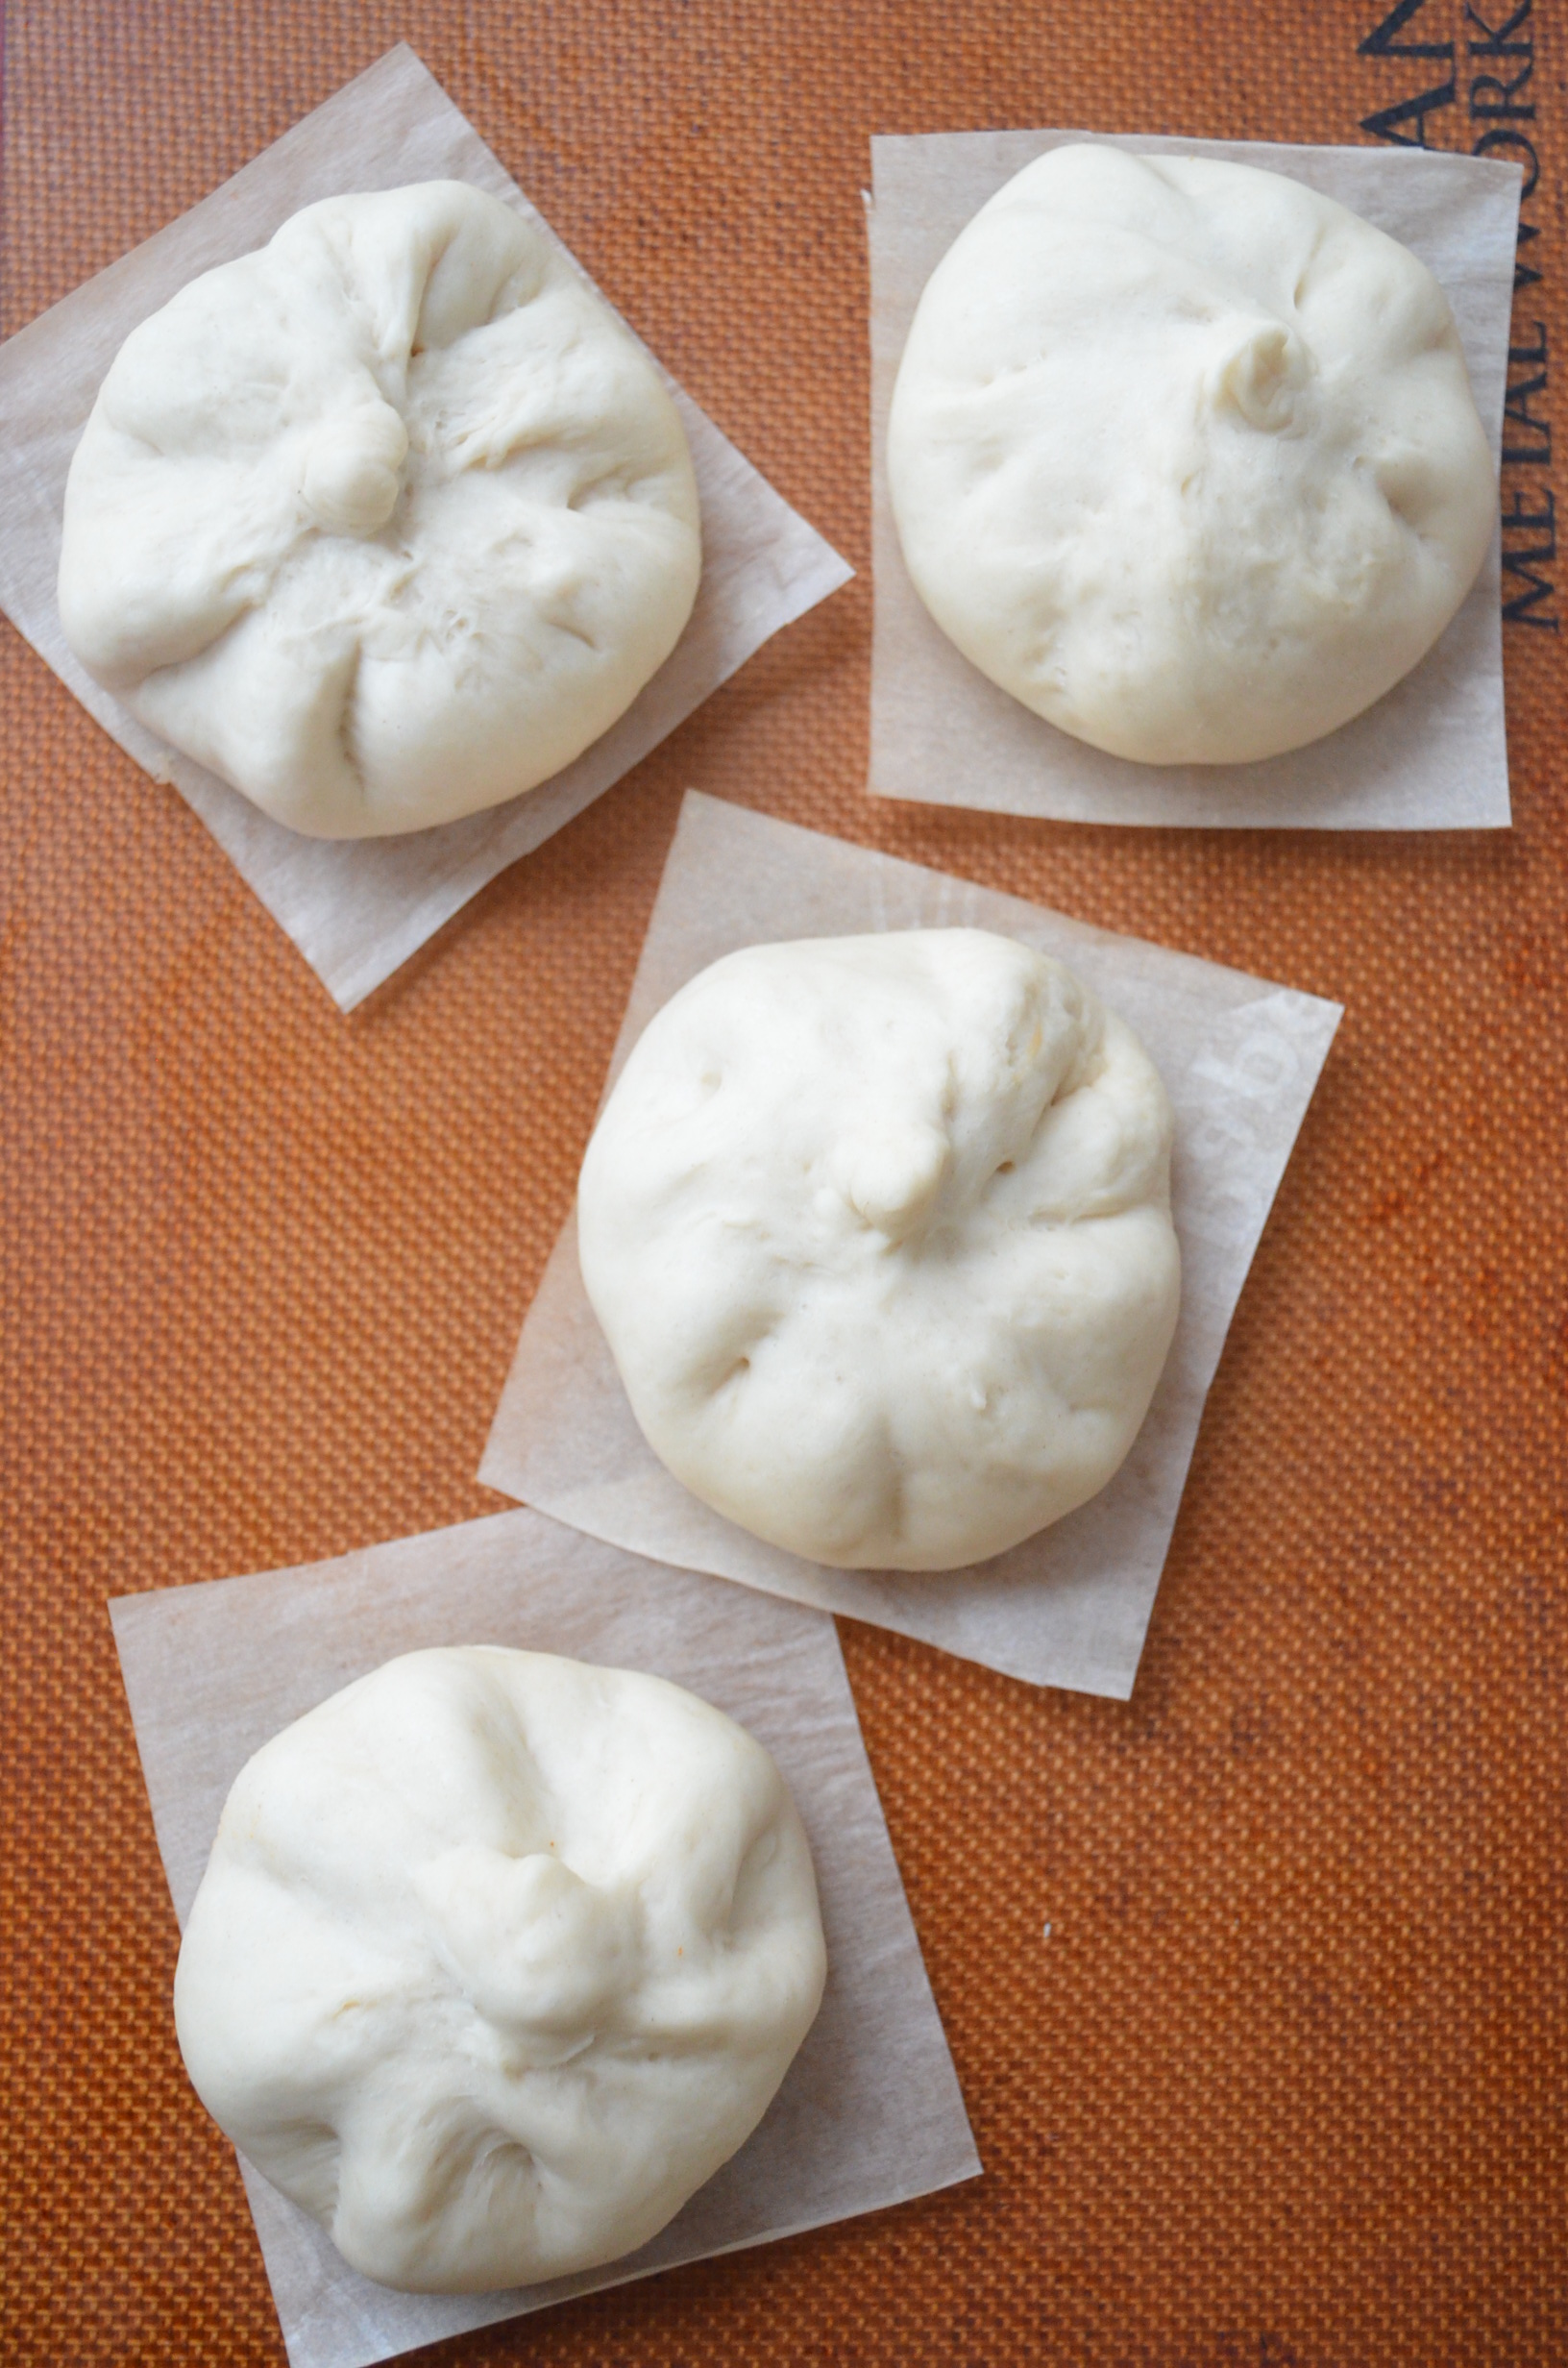
- Fill Each Dough with filling of your choice. Brush the edges of the dough with water. Pull the edges of the dough towards the center, moving around until all edges are sealed on top. Pinch the top to seal and secure the filling from sticking out when the dough expands.
- Rest Period 2: Cover with warm tea towel and set aside in a warm place for another 1/2 hour or until it starts to rise and stretch. At this point, the texture will be smooth and the size will be bigger, it will expand in size.
- Steam buns for 10 -15 minutes. Do not over crowd the steamer. If you do not have a steamer like me, use a wide pan and pour water in it. Then put a wire rack and place the Siopao on top. Cover and steam.

Storage & Re-Heating
Storage: Cooked Siopao could be kept refrigerated for 1 week, and can be kept frozen for 2 -3 months. Re-Heating: Steam or microwave for 20 – 30 seconds
Enjoy! If you make this, share and tag me in Instagram #SweetNSpicyLiving. I would like to see your creations too.
My Latest Video
Thank You for visiting my website. Please don’t forget to click the “Like” button below if you like this recipe. Lastly, did you know that I have a YouTube Channel? Please support my channel by clicking on the “Subscribe” button in my video and the “Bell” icon to get notification of new videos.

FOLLOW SWEETNSPICYLIVING ON SOCIAL MEDIA
Facebook | Instagram | Pinterest | Twitter | YouTube

