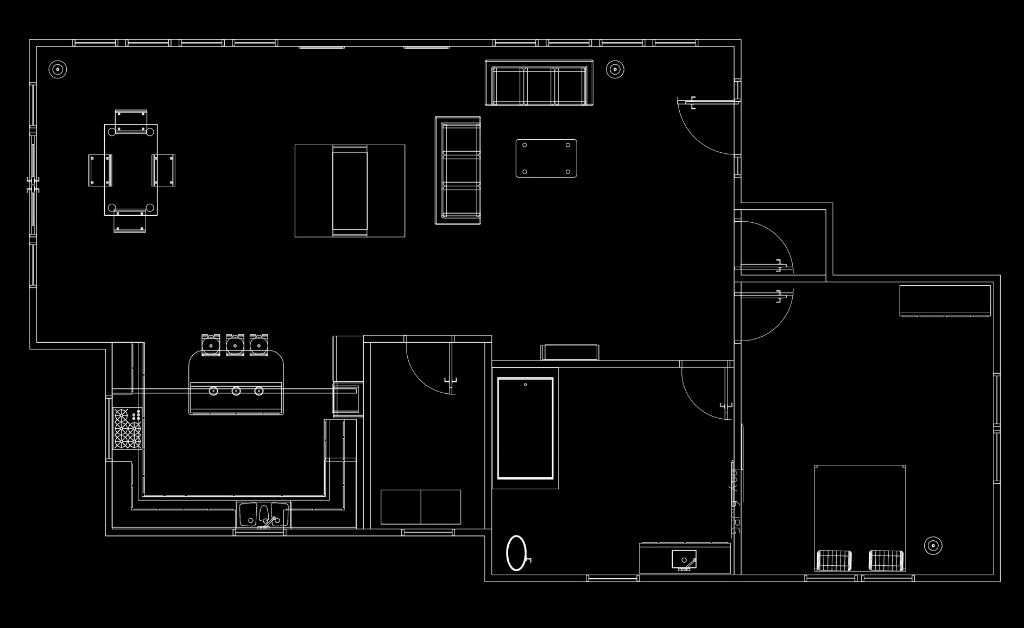
How to draw a door in Autocad Floor Plan?
The door is one of the most common drawing elements in architectural AutoCAD. The following is a step-by-step guide that shows you how to draw a door in AutoCAD floor plans. Let’s go through it!
1. Select a door tool from the tool palette
or
Click Home tab > Build panel >Door drop-down >Door
2. Select a wall or a door and window assembly in the drawing for the door
or
press Enter to add a freestanding door
3. Specify the insertion point for the door
To have full flexibility for defining the insertion point, verify the following:
Position along the wall is set to Unconstrained on the Properties palette.
The OSNAP setting in the status bar is turned off.
4. Otherwise, the door insertion point will be aligned with the wall’s center or end points, or with one of the OSNAP points.
To switch the door’s insertion point from hinge (default) to center and latch, enter cy (cycle measure to) once or twice on the command line.
To measure the door’s insertion point in relation to a specified point on a drawing, enter re (Reference point on)
5. Select the justification
6. Continue adding doors, and press Enter
You can now add doors to your floor plans. This is a very simple process.
Would you like to learn more about AutoCAD Architectural Software? Join the Architectural AutoCAD Software Course at Backstudio Milan and become an expert in AutoCAD. Try our free demo class to get to know our professional team if you are not sure yet.

